Digitizing is at the core of any GIS project — whether you’re mapping land parcels, tracing buildings, or creating utility lines. QGIS, the most popular open-source GIS software, offers several powerful plugins to make the digitizing process more efficient, accurate, and enjoyable.
In this blog post, we bring you the 10 best QGIS plugins for digitizing that every GIS professional and mapper should know about in 2025.
10 Best QGIS Plugins for Digitizing

1. Digitizing Tools
If you feel limited by QGIS’s default digitizing capabilities, the Digitizing Tools plugin is your solution. It supercharges your workflow by providing advanced editing options that save time and increase precision — especially when working with complex vector layers.
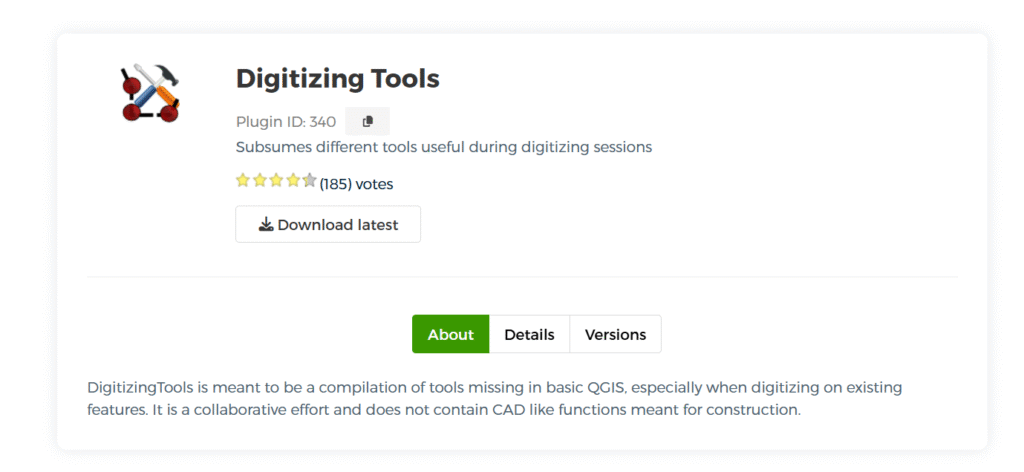
With Digitizing Tools, simple tasks like merging features or rotating geometries become incredibly smooth and intuitive. Whether you’re working on land parcels, infrastructure mapping, or environmental features, this plugin helps you work smarter, not harder.
🔧 Key Features:
-
Merge or Split Features: Combine multiple features into one or split a feature into several parts easily without complicated operations.
-
Rotate Points and Lines: Adjust the orientation of points, lines, and polygons seamlessly — perfect for map features like rotated symbols, pipelines, or property boundaries.
-
Copy and Paste Geometries Between Layers: Move geometries from one layer to another without losing attribute data, simplifying multi-layer editing tasks.
📌 Best For:
-
Advanced editing of shapefiles and other vector layers
-
Improving workflows in cadastral mapping, urban planning, and environmental studies
-
Users who need greater control over geometric modifications
🔗 How to Install:
-
Open QGIS Plugin Manager.
-
Search for “Digitizing Tools.”
-
Click Install and activate it through the Plugin panel.
2. Advanced Digitizing Toolbar (Built-in)
While it’s not an external plugin, the Advanced Digitizing Toolbar is one of QGIS’s most powerful built-in features. If you’ve ever wished for CAD-like precision while creating or editing vector features, this toolbar is your go-to tool.

It offers fine control over angles, distances, and coordinates, allowing users to input exact measurements instead of relying on manual mouse clicks. This level of precision is critical for fields like surveying, civil engineering, and architectural design, where even minor errors can lead to major issues.
📏 Key Features:
-
Snap to Angles, Distances, or Coordinates: Enter exact numeric values to guide your digitizing, ensuring that lines, points, and polygons are placed exactly where they need to be.
-
Use Constraints for Precision Digitizing: Lock movements to specific angles (like 90°, 45°, or custom settings) or set distance constraints to maintain geometric accuracy while drawing.
-
Dynamic Feedback: Get real-time feedback on measurements while drawing, helping you make instant adjustments.
📌 Best For:
-
Professional surveying projects requiring highly accurate feature placement
-
Engineering and infrastructure design maps
-
Architectural layouts and site planning that demand strict measurements
🔗 How to Enable:
-
Go to View > Toolbars in QGIS.
-
Check Advanced Digitizing Toolbar to activate it.
-
Start using it immediately while editing or creating new features.
3. AutoTrace
Manually tracing the edges of complex shapes—like winding rivers, intricate building footprints, or touching land parcels—can be frustrating and time-consuming. That’s where the AutoTrace plugin shines. It allows you to automatically digitize new features by following the edges of existing polygons or lines, dramatically reducing manual effort while improving accuracy.

Whether you’re digitizing urban areas, cadastral maps, or environmental features, AutoTrace intelligently snaps to existing geometries, ensuring your new features align perfectly with the old ones.
🚀 Key Features:
-
Smart Edge Snapping: Automatically detects and follows the shape of nearby features, eliminating the need to draw every segment manually.
-
Handles Complex Geometry with Ease: Perfect for digitizing features that share borders (like neighboring parcels or adjoining land cover areas).
-
Reduces Errors: By using existing shapes as guides, you minimize slivers, overlaps, and topology issues.
📌 Best For:
-
Cadastral Mapping: Easily trace land parcels that share boundaries.
-
Urban Planning: Digitize building outlines or infrastructure that follow set layouts.
-
Hydrological Mapping: Follow riverbanks, canals, or drainage paths with precision.
🔗 How to Install:
-
Open Plugins > Manage and Install Plugins in QGIS.
-
Search for “AutoTrace”.
-
Click Install and activate the plugin.
💡 Pro Tip: Use AutoTrace in combination with the Snapping Options and Topology Checker to ensure your features are both aligned and topologically correct.
Related Content:
Top 10 Best QGIS Plugins for Remote Sensing in 2025
25 Best QGIS Plugins Every QGIS User Must Know
GIS Software Development: A Complete Roadmap for 2025
4. CadTools
For professionals used to the precision and power of AutoCAD, transitioning to a GIS environment like QGIS can feel limiting—until you discover CadTools. This powerful plugin bridges the gap between GIS and CAD, giving you access to a wide range of geometry editing tools commonly found in engineering and architectural software.

CadTools brings CAD-style control directly into QGIS, making it easier than ever to execute technical digitizing tasks like offsetting lines, creating tangents, trimming edges, and more. If you’re working on infrastructure layouts, road networks, or technical site plans, CadTools is a game-changer.
🛠️ Key Features:
-
Offset Lines: Create parallel lines at fixed distances—great for road corridors, buffer zones, or zoning plans.
-
Trim and Extend Geometries: Clean up overlapping or misaligned linework with ease.
-
Draw Arcs and Tangents: Easily generate curved features like roundabouts, pipelines, or boundary corners.
-
Coordinate Geometry (COGO) Support: Use bearings and distances for precise feature creation.
-
Measure and Analyze Geometry: Check lengths, angles, and areas using built-in analysis tools.
📌 Best For:
-
Civil and structural engineers switching from CAD to GIS
-
Urban planners and architects working on precise layout designs
-
Utility mapping (e.g., roads, pipelines, power lines)
-
Any GIS user who needs to digitize with exact geometric control
🔗 How to Install:
-
Go to Plugins > Manage and Install Plugins in QGIS.
-
Search for “CadTools” and click Install.
-
You’ll find it under CAD Tools in the Plugins menu once installed.
💡 Pro Tip: Pair CadTools with the Advanced Digitizing Toolbar for the ultimate precision-driven workflow—perfect for high-detail projects like cadastral mapping or city planning.
5. QuickOSM
When you’re looking to integrate real-world data into your GIS workflow, QuickOSM is the plugin you need. It allows you to quickly pull OpenStreetMap (OSM) data into QGIS, making it an ideal tool for creating base maps or extracting specific features like roads, buildings, rivers, and more.

QuickOSM streamlines the process of accessing detailed, up-to-date geographic data, saving you time and effort in your mapping tasks. Whether you’re working on urban planning, transportation analysis, or any project that requires accurate and current geographic features, QuickOSM will make your life easier.
🌍 Key Features:
-
Import OpenStreetMap Data: Get roads, buildings, rivers, parks, and other geographic features directly into QGIS.
-
Tag and Location Filters: Easily filter OSM data by specific tags (e.g., highways, amenities) or locations for precise data extraction.
📌 Best For:
-
Urban planners working with up-to-date city layouts.
-
Transportation and infrastructure mapping projects.
-
Quick digitizing from real-world data for analysis or planning.
🔗 How to Install:
-
Open QGIS and go to Plugins > Manage and Install Plugins.
-
Search for “QuickOSM” and click Install.
-
Once installed, you can access it under the “QuickOSM” option in the Plugins menu.
💡 Pro Tip: Pair QuickOSM with QGIS’s built-in analysis tools to enhance your project with dynamic and real-time geographic data.
6. Topology Checker
When precision and accuracy are critical, maintaining clean topology in your GIS data is a must. The Topology Checker plugin helps ensure your digitized features comply with spatial integrity rules, making it ideal for professional GIS workflows where every detail counts.

With this tool, you can easily detect errors like gaps, overlaps, and invalid geometries, preventing costly mistakes in your spatial data. Whether you’re working on land records, cadastral maps, or administrative boundaries, this plugin will help you keep your data consistent and error-free.
🧮 Key Features:
-
Error Detection: Quickly identify gaps, overlaps, and invalid geometries in your digitized features.
-
Custom Topology Rules: Set your own spatial rules to match project-specific requirements.
📌 Best For:
-
Land record management and cadastral mapping.
-
Ensuring spatial accuracy in administrative boundary maps.
-
Professional GIS workflows that require strict topology rules.
🔗 How to Install:
-
Go to Plugins > Manage and Install Plugins in QGIS.
-
Search for “Topology Checker” and click Install.
-
Access the plugin from the “Topology” menu once installed.
💡 Pro Tip: Use the Topology Checker in conjunction with QGIS’s editing tools to maintain consistency while creating or modifying features.
7. Vertex Tool (Built-in)
The Vertex Tool is a powerful built-in feature in QGIS that allows for detailed adjustments at the vertex level. If you’re working on intricate geometries and need precise control over their shape, this tool is a must-have for your editing toolkit.

With the Vertex Tool, you can easily add, move, or delete vertices and even snap them to other layers for seamless alignment. It’s perfect for refining your features after initial digitizing to ensure your data meets the highest standards of accuracy.
🔍 Key Features:
-
Add, Move, or Delete Vertices: Make detailed adjustments to your geometries with precision.
-
Snap Vertices to Other Layers: Align your vertices perfectly with features from other layers.
📌 Best For:
-
Fine-tuning geometries after the initial digitizing phase.
-
Editing complex features with high precision.
🔗 How to Use:
-
Activate the Vertex Tool from the “Edit” toolbar in QGIS.
-
Select your feature and start making vertex-level adjustments.
-
Use the snapping options to align with other features for exact placement.
💡 Pro Tip: Combine the Vertex Tool with the Advanced Digitizing Toolbar for even more precision when editing complex features.
8. Geometry Checker
Invalid geometries can lead to errors in your analysis and compromise the integrity of your GIS data. The Geometry Checker plugin helps you identify and fix these issues instantly, ensuring that your data is ready for reliable analysis.

With Geometry Checker, you can easily detect problems like self-intersections, duplicate nodes, and other common geometry errors. The tool even offers one-click fixes, making quality assurance a breeze.
🧹 Key Features:
-
Error Detection: Automatically find self-intersections, duplicate nodes, and other geometry issues.
-
One-Click Fixes: Quickly resolve errors with a simple click, saving time and effort.
📌 Best For:
-
Ensuring quality and accuracy in digitized layers.
-
Performing quality assurance checks before conducting any analysis.
🔗 How to Install:
-
Go to Plugins > Manage and Install Plugins in QGIS.
-
Search for “Geometry Checker” and click Install.
-
Access it from the “Vector” menu after installation.
💡 Pro Tip: Use Geometry Checker as part of your data validation workflow to ensure all your GIS layers are error-free before running complex analyses.
9. Lat Lon Tools
For those working with GPS data or needing to plot locations based on specific coordinates, Lat Lon Tools is the perfect plugin. It allows you to easily digitize features directly from latitude and longitude inputs, streamlining your data collection process.

With Lat Lon Tools, you can quickly add points from coordinate lists and even convert between different coordinate formats, making it ideal for location-based mapping projects.
🗺️ Key Features:
-
Add Points from Coordinates: Digitize features by inputting specific latitude and longitude values.
-
Coordinate Format Conversion: Effortlessly convert between different coordinate formats for flexibility.
📌 Best For:
-
GPS-based data collection and field mapping.
-
Plotting precise locations based on known coordinates.
🔗 How to Install:
-
Open QGIS and go to Plugins > Manage and Install Plugins.
-
Search for “Lat Lon Tools” and click Install.
-
After installation, access the plugin from the Plugins menu.
💡 Pro Tip: Use Lat Lon Tools alongside GPS devices or online coordinate lists to streamline your data entry and ensure accuracy in your maps.
10. Georeferencer (Built-in)
The Georeferencer tool is a powerful built-in feature in QGIS, designed to help you geolocate raster images such as scanned maps, historical blueprints, or field sketches before you begin digitizing. This tool allows you to assign real-world coordinates to your images by adding Ground Control Points (GCPs), ensuring that your scanned data aligns accurately with your existing spatial data.
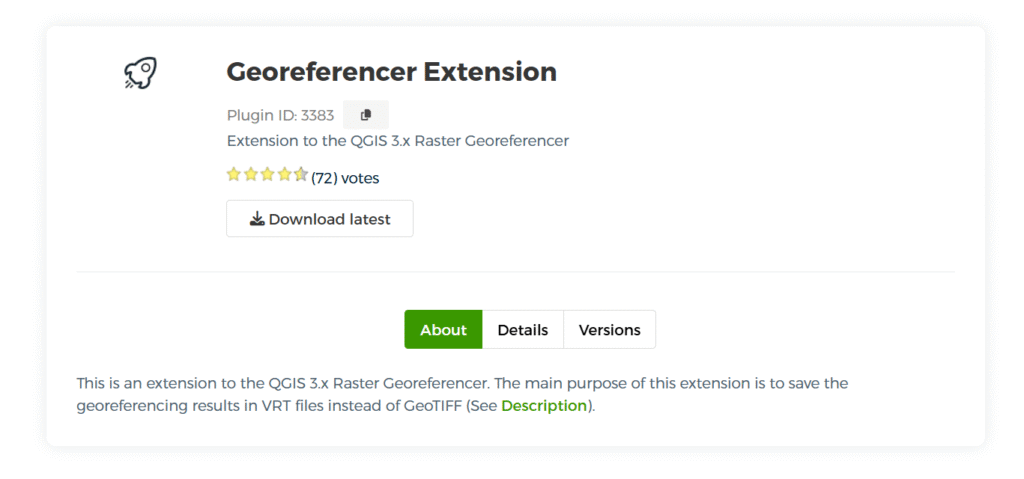
With the Georeferencer, you can seamlessly transform images into real-world coordinates, making it easier to incorporate older or field-generated maps into your GIS projects.
📌 Key Features:
-
Add Ground Control Points (GCPs): Assign spatial reference to your scanned maps and images.
-
Transform Images to Real-World Coordinates: Align raster images with real-world geographic data.
📌 Best For:
-
Georeferencing historical maps and scanned documents.
-
Incorporating field sketches and old survey plans into digital workflows.
🔗 How to Use:
-
Open QGIS and go to Raster > Georeferencer.
-
Load your raster image and add Ground Control Points (GCPs) to align it.
-
Choose the transformation method and output format to generate your georeferenced image.
💡 Pro Tip: Combine the Georeferencer with QGIS’s powerful editing tools to digitize features from historical maps or blueprints accurately.
Final Thoughts
Whether you’re a beginner in GIS or a seasoned professional, using the right plugins can drastically improve your digitizing workflow in QGIS. From precise CAD tools to smart topology checkers, these plugins are designed to make your mapping faster, cleaner, and more reliable.
Try them out today — and take your GIS digitizing to the next level!
❓ Frequently Asked Questions (FAQs)
1. What is digitizing in QGIS?
Digitizing in QGIS is the process of converting features from raster images, maps, or GPS data into vector formats like points, lines, and polygons. It helps create editable spatial layers for analysis and mapping.
2. Are these QGIS digitizing plugins free to use?
Yes, all the plugins mentioned in this blog are completely free and available through the official QGIS Plugin Repository.
3. How can I install a plugin in QGIS?
Go to Plugins > Manage and Install Plugins, search for the plugin name, and click Install. Make sure you’re connected to the internet.
4. Which plugin is best for CAD-style digitizing in QGIS?
CadTools and the Advanced Digitizing Toolbar are ideal for users looking for CAD-like functionality within QGIS.
5. Can I use these plugins for land parcel mapping?
Absolutely. Plugins like AutoTrace, Topology Checker, and Geometry Checker are perfect for cadastral and land parcel digitizing.
1 thought on “10 Best QGIS Plugins for Digitizing”